Projects, environments and clusters
Understand how Tenkai groups resources, prepares clusters and creates the production environment for your project.
Understand the hierarchy
A Team owns projects and clusters. A Project groups resources. Each project has a Production environment, and its cluster determines where those resources run. A Resource is an application, such as a web application, or a managed service.
Creating a project does not provision a server, and adding a server does not deploy an application.
Prepare a cluster
Open Clusters and create a cluster. Enroll a server you own, or use a connected Hetzner Cloud, DigitalOcean, Scaleway or Infomaniak Public Cloud account. Servers created through a provider belong to your provider account and the provider bills you directly.
Each provider connection reaches one Hetzner Cloud project, one DigitalOcean team, one Scaleway project or one Infomaniak Public Cloud project. To create its token and connect it, see connect a server provider.
For a server you already have, check these requirements before running the command:
- System and memory. 64-bit Debian 12 or Ubuntu 24.04, or later, on x86_64 or arm64. Raspberry Pi OS (64-bit) counts as Debian. The first server needs 2 GB of memory; a worker node you add later needs 1 GB. See how much memory a server needs.
- Containers. An LXC container, as Proxmox and LXD create them, must be privileged with nesting enabled. Its host must load the
ip_vsandbr_netfilterkernel modules: runmodprobe -a ip_vs br_netfilteron the host, and list both in a file of/etc/modules-load.dso they load after a restart. - A server dedicated to Tenkai. Tenkai sets up its own Docker Swarm on the cluster network, so enrollment refuses a server whose Docker already belongs to a Swarm, as Dokploy leaves it. Enroll a fresh server, or run
docker swarm leave --forceif nothing there needs that Swarm: it stops its services. - Root access. Run the enrollment command as root, with curl installed. It creates a
tenkaiuser that Tenkai uses over SSH. Treat the command as a credential and do not publish it. - Internet access. Tenkai must reach the server's SSH port at a stable public IPv4 address. The edge node also needs TCP ports 80 and 443. Allow UDP port 51820 between cluster nodes for WireGuard. Forward these ports through a router, and allow them in a provider firewall. Servers that share one public address give Tenkai their own addresses. See the cluster network and the edge node's public ports.
Enrollment checks these requirements before it creates the tenkai user. After a refusal, fix the server and run the same command again. Enrollment also refuses an existing tenkai account, home directory or sudo rule. On a fresh server, remove only what a failed attempt created; if another installation uses that account, enroll a fresh server instead.
Wait until setup succeeds on the cluster page before deploying.
Servers in a cluster must share a CPU architecture, and your application image must support it. Each managed service stays on the node that holds its data. See Manage the nodes of a cluster to add and remove nodes.
Owners and admins can click the name of a cluster or a server on its page to rename it. The name is only a label in Tenkai: the machine keeps its hostname and its provider name.
Add your SSH key to your account before creating a server, so you can log in to it as root.
Create a project
In Projects, choose Add project… and enter a name. With several usable clusters, choose the Production cluster. You need a usable cluster to create a project, and Tenkai cannot move a project to another cluster yet.
Owners and admins can click the name of the project to rename it, or its icon to upload a PNG, JPEG, WebP or ICO image of up to 256 KB.
Add resources
Use Add resource in the project to create an application, a PostgreSQL, MySQL, Redis® or Valkey managed service, or a hosted bucket. From the marketplace installs a ready-made app. For an application, choose Web application for a service that answers HTTP requests, Worker for a process that runs in the background, or Scheduled job for a command that runs at set times.
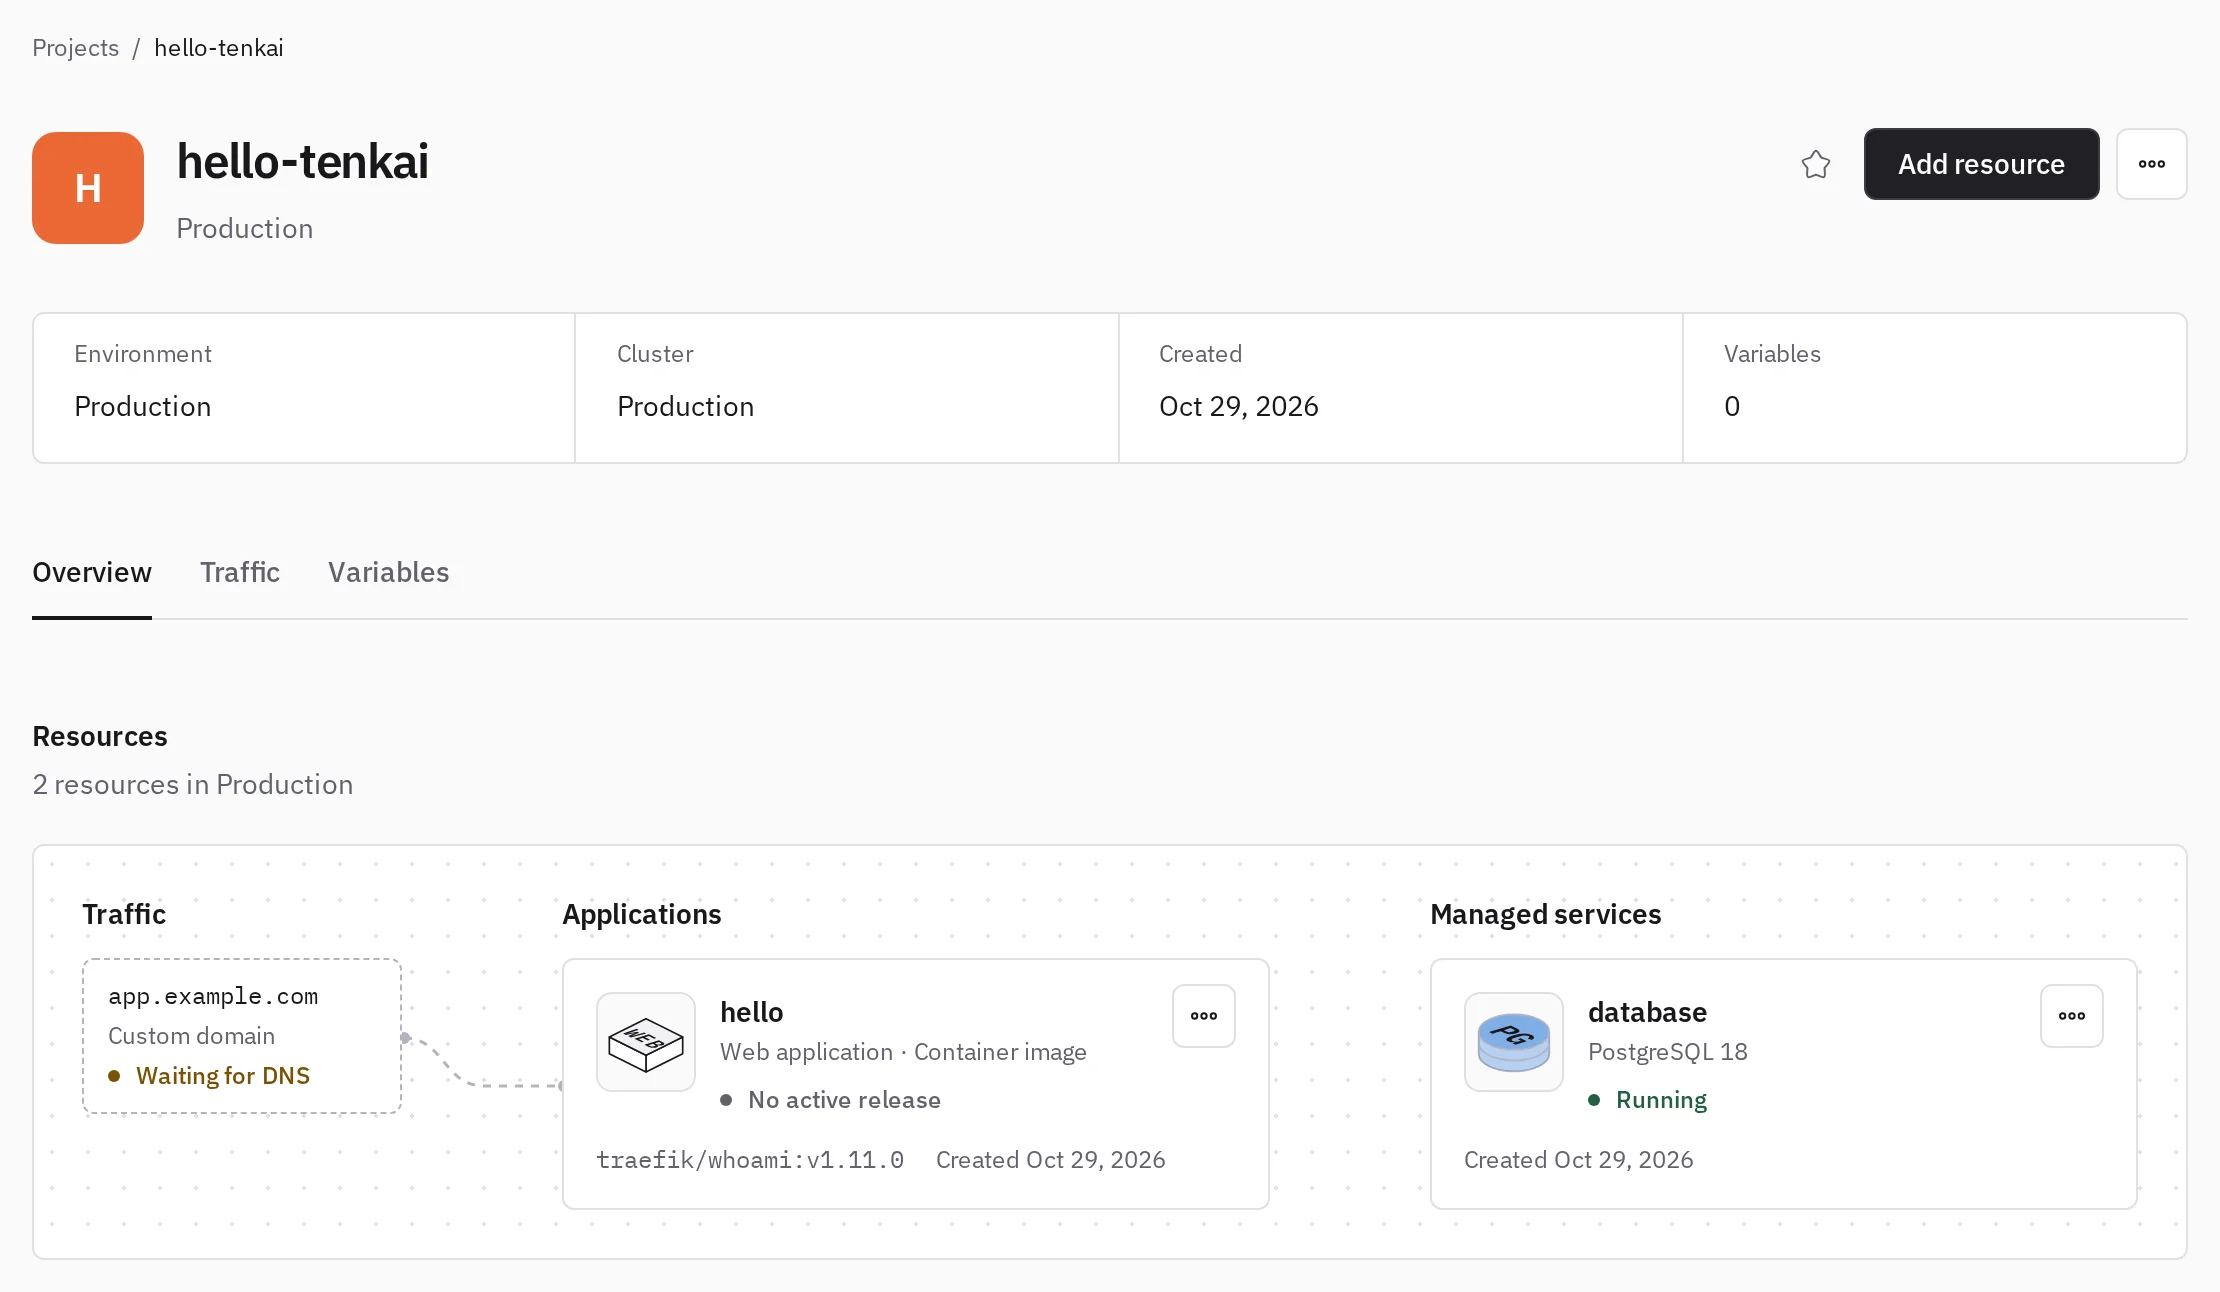
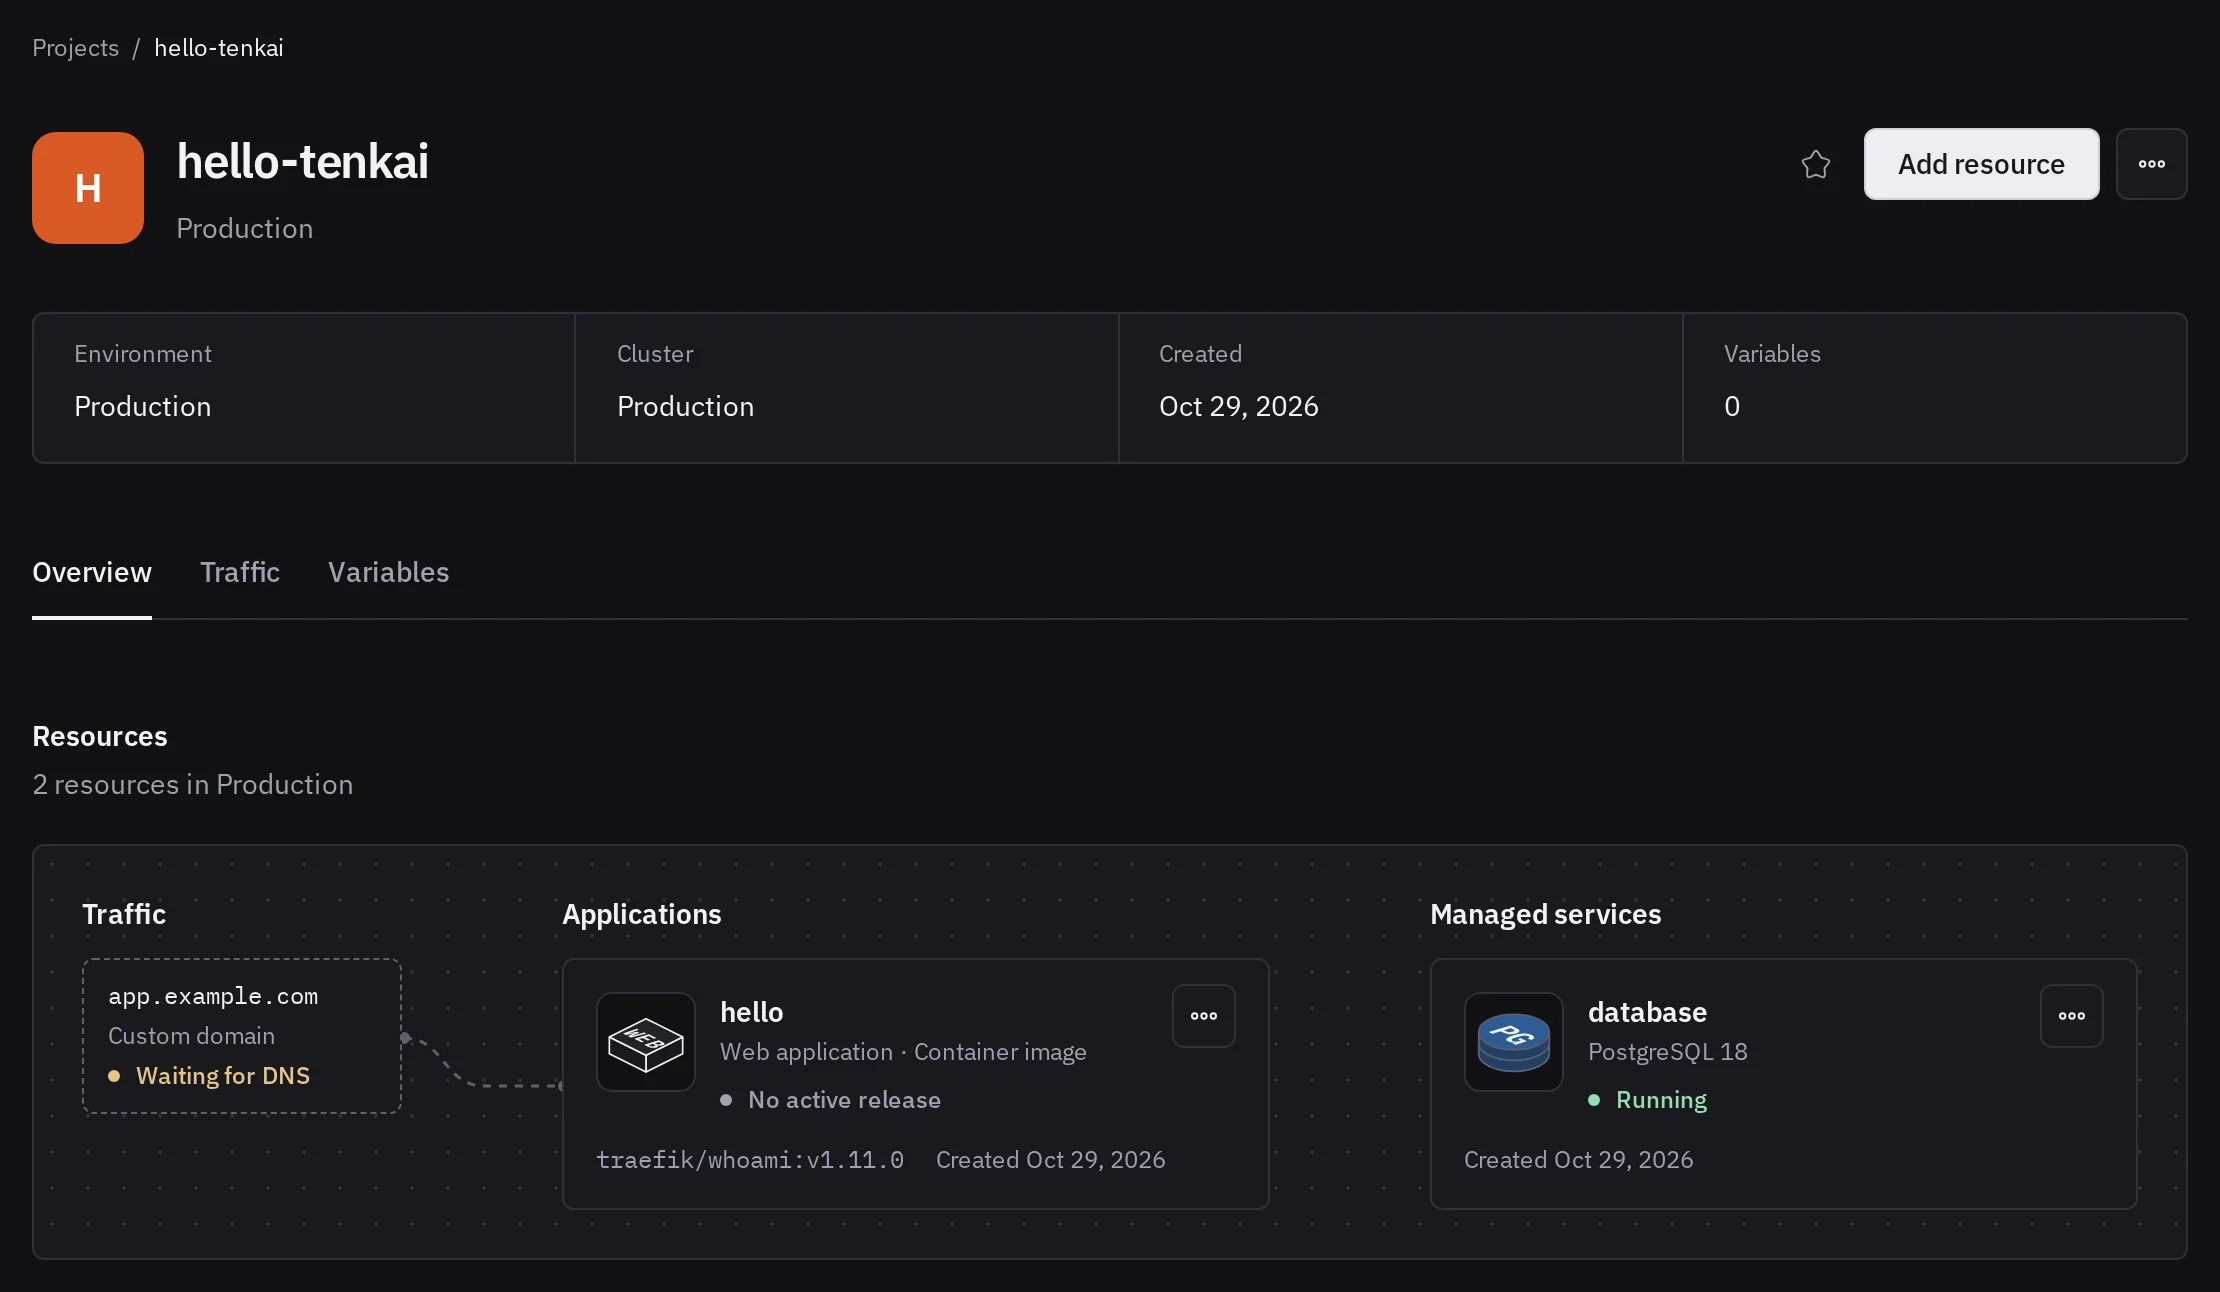
Change configuration…, in the More actions menu, edits an application's entrypoint, size, replicas or schedule, and the image tag or digest of a container image source. In the Configuration tab, Edit next to Build, Run, Capacity or Deploy edits the settings of that group only. Saving does not change what runs. Apply configuration, in the Redeployment required notice, applies runtime and capacity changes to the active release without building or pulling. An image change needs Deploy.
A stateless web application or worker can run 1 to 10 replicas, and each one reserves its size on a node. To keep each replica on its own node, see keep replicas on separate nodes. A stateful application and a managed service run a single copy on the node that holds their data. A scheduled job runs once at a time. Use Change size for a managed service.
Delete stops the resource and removes it permanently. Deleting a web application keeps the managed services it uses. If the resource shows Deletion failed, read the reason and choose Retry deletion on its page.
Environment variables apply to every resource in the environment; resource variables to one. Read variables before adding credentials.
Continue with your first deployment or create a managed service.
Add an environment
A project starts with its Production environment. Add others, such as staging, to run a copy of the project apart from production: the resources of one environment cannot reach those of another.
Environments are experimental: an owner or admin turns them on for the team first. See Try an experimental feature.
Owners and admins open the menu under the name of the project and choose Add environment…. Name it, choose its cluster, then start with:
- Nothing: no resources and no variables.
- A copy of an environment: its applications, its managed services and its environment variables. Each database of the copy starts empty, with its own credentials, and each copied application is bound to the copy of its database. Sensitive values are not copied: set them again in the new environment. Nothing deploys until you deploy it.
Tenkai cannot copy yet an environment with a hosted bucket, or with a web application that keeps files. Start with nothing instead.
The same menu opens another environment. Add resource and the Variables section work on the environment that is open.
To delete an environment, first delete each of its resources, then choose Delete in the menu and type its name. The production environment goes with its project only.
Keep your favorites in the sidebar
Select the star in the header of a project, resource, cluster or server to add it to your Favorites in the sidebar. Select it again to remove it. Your favorites are your own, one list per team.
Go to a page from the keyboard
Press ⌘K on a Mac, or Ctrl+K on Windows and Linux, or select Search in the sidebar. Type a few letters to find a page, a favorite, a project, resource, cluster or server, or one of your other teams. It also runs the commands of your user menu, such as the theme or sign out, but nothing that changes your servers.
Delete a project
Owners and admins can choose Delete in the More actions menu of the project and type its name to confirm. Tenkai deletes every resource with its deployments, releases, variables and custom domains, and the data of each managed service. This cannot be undone. Nothing can be changed in the project while it is Deleting.
If a resource cannot be deleted, the project shows Deletion failed. Select it to see which resource stopped it, read why on that resource's page, then choose Delete again. The resources left keep working.
If the cluster no longer answers and its machines are gone for good, select The servers these resources run on are gone, or will never answer again in the dialog. Tenkai then deletes the resources without their cluster. Anything still running on a server stays there.
Tenkai does not change your DNS. Delete the CNAME records that point to the project's default route hostnames at your DNS provider.
Redis is a registered trademark of Redis Ltd. Any rights therein are reserved to Redis Ltd.